
Indoor pot light installation in Toronto and York Region
Slim LED pot lights give a room even, glare-free light without bulky fixtures. We plan the layout with you, install the lights and the switch, and leave the room clean.
This service is for indoor ceilings: kitchens, living rooms, basements, hallways and bedrooms.
- Indoor ceilings
- Regular, dimmer or smart switch
- Online estimate
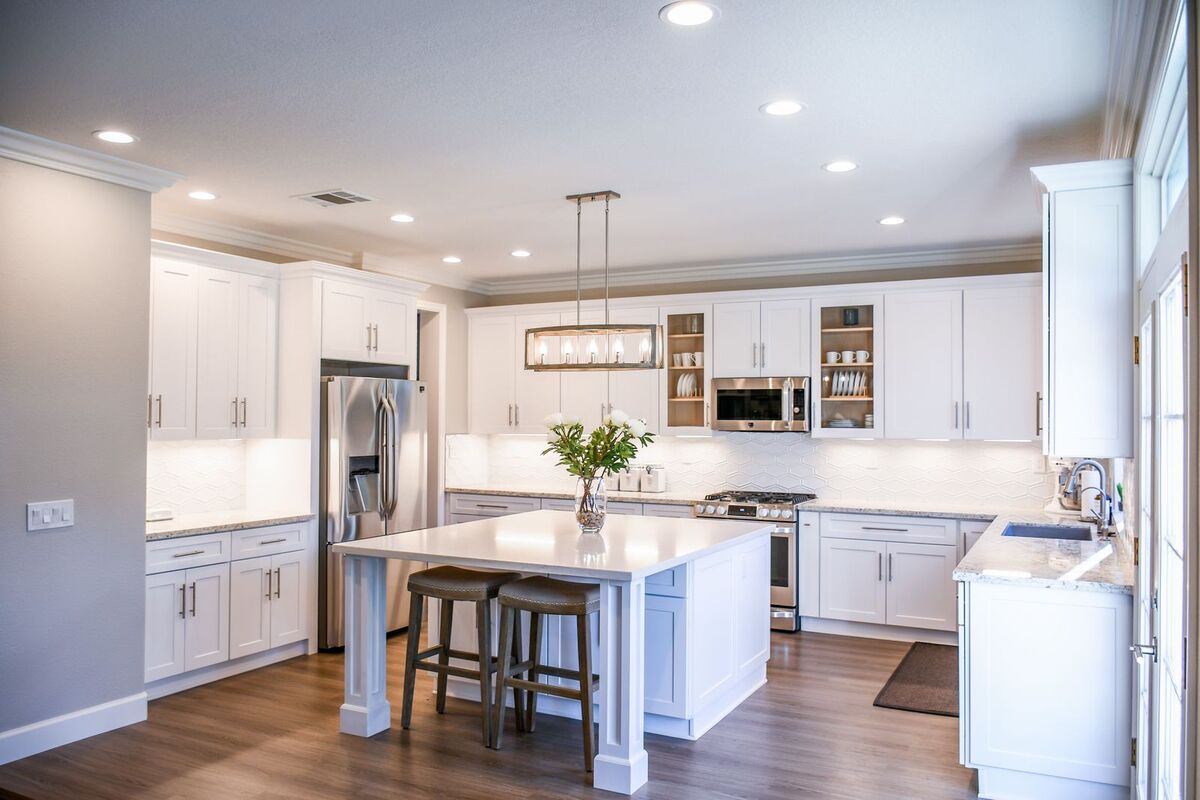
The installation
What the installation involves
- 01
Plan the layout
We agree how many lights you need, where they go and how they are switched. Spacing depends on the room size, the ceiling height and how the room is used, such as task light over a kitchen counter.
- 02
Check the ceiling and the wiring path
We look at the ceiling type, the joist direction, any insulation above, and access from an attic or unfinished space, and find the power source for the new lights.
- 03
Make it safe and cut the openings
The circuit is switched off at the panel and tested before work starts. Openings are cut to the size each light needs, taking care around joists, ducts and pipes.
- 04
Run the wiring and fit the lights
Wiring is run between the openings and to the switch, connected, and each pot light is fitted flush to the ceiling.
- 05
Install the switch and test
We fit the regular, dimmer or smart switch you chose, then test every light and the dimming range with you.
- 06
Clean up
Dust from cutting is cleaned up and packaging is taken away.
Benefits
Why homeowners choose pot lights
Even light across the room
Several pot lights spread light more evenly than one ceiling fixture, which helps in kitchens, basements and open-plan rooms.
A clean, low-profile ceiling
Slim LED pot lights sit flush with the ceiling, which suits lower basement ceilings and modern rooms.
Less energy than halogens
LED pot lights use far less power than old halogen pot lights and need replacing much less often.
Control that suits the room
Add a dimmer or a smart switch, or split lights into zones so you can light only part of the room.
Scope
What's included and what isn't
Included
- Planning the layout with you
- Cutting an opening for each light
- Wiring between the lights and to the switch
- Installing the pot lights
- Installing a regular, dimmer or smart switch, as chosen
- Testing every light with you
- Cleaning up dust and taking packaging away
Not included
Examples
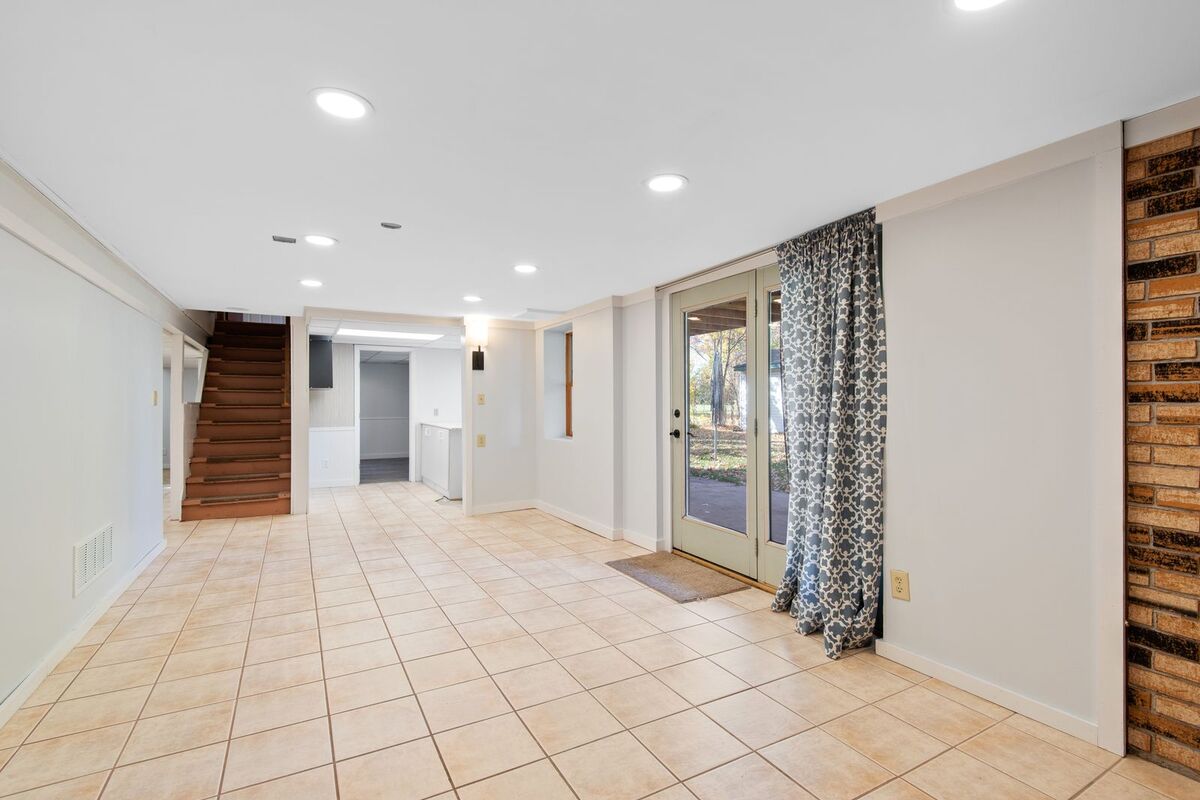
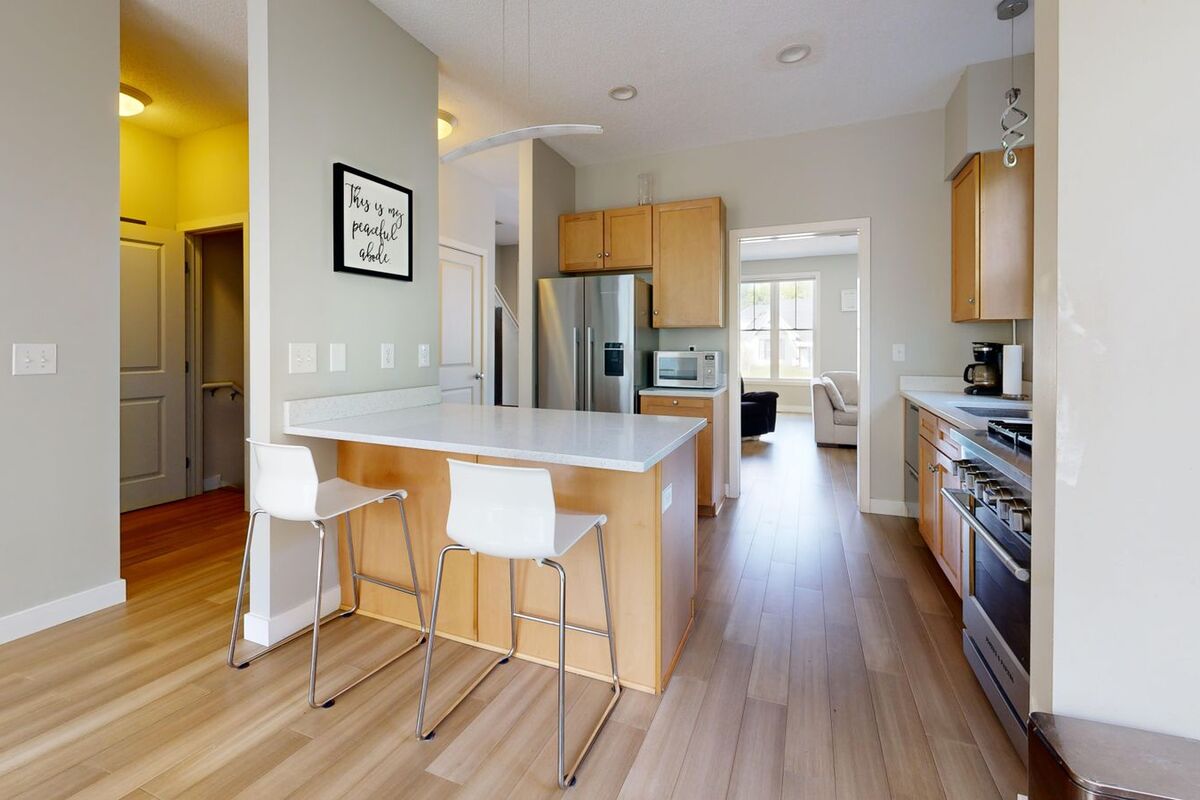
What it can look like
These are example photos, not photos of Hipros projects.
Good to know
Before you book
Requirements
A ceiling we can cut into. Drywall is the most common; tell us if yours is plaster, tile or a drop ceiling.
Access to the room, to the electrical panel and to the attic or space above, if there is one.
Compatibility
Pot lights work with regular, dimmer and smart switches.
To dim them, use LED pot lights marked dimmable with a dimmer made for LED lights. A mismatched dimmer is the most common cause of flicker or buzzing.
Under an attic with insulation, use lights rated for contact with insulation (IC rated). Over a shower or tub, use lights rated for wet locations.
Installation time
It depends on the number of lights, the ceiling type and how easily wiring can be run. We tell you how long we expect the job to take when we confirm your quote.
Pricing
The estimate depends on the number of pot lights, the switch type and how many switches (zones) you need. Estimates start at $80 for one pot light on an existing switch.
Use the calculator below. We confirm the final price before any work starts.
Safety
The circuit is switched off at the panel and tested before any wiring work.
If we find an existing wiring problem that should be dealt with first, we stop and explain it before going further.
What to prepare
- Choose the rooms and roughly how many lights you want.
- Decide who supplies the lights, and note the model if you have it.
- Clear furniture from under the work area if you can.
- Make sure we can reach the electrical panel and the attic hatch.
- Take photos of the ceiling and the switch to send with your request.
Do you install outdoor or soffit pot lights?
No. This service is for indoor ceilings only.
Can you install pot lights in a finished ceiling with no attic above?
Often, yes. Wiring can usually be run between the joists through the light openings. Some layouts need small extra access holes, which we discuss with you before cutting. Patching and painting are not included.
How many pot lights do I need?
It depends on the room size, the ceiling height and how the room is used. As a rough guide, rooms with 8 ft ceilings often have lights about 4 to 6 ft apart. We confirm the layout with you before cutting.
Can pot lights go on a dimmer?
Yes, with dimmable LED pot lights and a dimmer made for LED lights. Choose Dimmer switch in the calculator.
Can you replace old halogen pot lights with LED?
Yes. Tell us how many lights there are and, if you can, the size of the existing openings.
Do I need to buy the pot lights?
You can supply your own. If you would like us to supply them, say so in your request and we will include them as a separate line in your quote.
Will it be messy?
Cutting openings makes some dust. We protect the area under the work, clean up when we finish and take packaging away.
Online estimate
Estimate your price
Answer a few questions to see an estimate. We confirm the final price with you before any work starts.
Free quote
Request a pot light quote
Tell us about the job. We review it and get back to you to confirm the price and a time.
One more step: press Send in WhatsApp
Other services
- Call or text
- +1 (416) 857-5367
- Message us on WhatsApp
- info@hipros.ca
- Based in
- Newmarket, Ontario